More Important Learning!!!
The aim of this step is to:
- Discuss copyright, fair use and using images on blogs.
- Introduce you to Creative commons.
- Explain how to find and add creative commons images to posts.
- Discuss what are free and public domain images; and how to source them.
INTRO TO COPYRIGHT, FAIR USE AND IMAGES IN POSTS
You can’t just use any image you like in a blog post.
Why? Because unless stated otherwise, the law automatically grants full “copyright” over any creative work a person makes.
- Dexter the cat hates those that steal his photos…
I’m sure you’re probably thinking it is okay because you are students, we have a few more flexible rules, called “Fair Use”, to play by. Fair use, in some cases, if an image, text, video, etc. is being used for educational purposes, means you may have more flexible copyright rules.
The trouble is, most of the laws and rules that cover fair use and education were written well before the invention of the web. They don’t apply to use of copyright material on the Internet. Using copyright material leaves you open to copyright infringement.
So what does this mean?
You need to:
- Learn what images you are and aren’t allowed to use, and why.
- Learn how to attribute images you are allowed to use.
- Learn that you can’t just use any images off the Internet on your blogs
- Learn how to source and attribute images they are allowed to use.
Understanding digital copyright is an essential skill we need to understand.
If you are really interested check out:
Refer to The Educator’s Guide to Copyright, Fair Use, and Creative Commons for comprehensive information on the use of images, curriculum docs, text and quotes, music, videos.
The safest way to source images for your blog is to either:
- Use Creative Commons images.
- Use free public domain images.
- Use your own photos or use images you’ve created.
INTRO TO CREATIVE COMMONS
Creative Commons, founded in 2001, is an organization which provides free content license known as a creative commons license that people can apply to their work.
When you license your work with creative commons, you are giving people the permission to use it without having to ask permission, provided they use it in the manner stated in your creative commons license.
The reason people use creative commons licenses is to make it easier for everyone to share and adapt creative work without the concern of copyright infringement.
Watch this video on Creative Commons.
https://safeshare.tv/x/HQqZU8G7bAo
Creative commons licenses are used for books, websites, blogs, photographs, films, videos, songs and other audio & visual recordings.
If an image, or website, doesn’t include a Creative Commons license, or isn’t public domain work, or indicates that the content is free to use than it automatically implies all content is copyright and you shouldn’t use!
There are websites that provide public domain images that are free to use, or have their own free to use licensing, but you need to make sure sure you follow their terms and conditions of use.
For those wondering, unless a blogger includes a Creative Commons license, all content on that blog is automatically the copyright of the blogger.
Creative Commons Licenses
 There are several different types of Creative commons licenses people use depending on what restriction(s) they want to apply to their work.
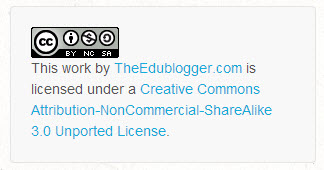
For example,on the bottom right corner of the sidebar of The Edublogger you’ll see we license all content on the blog as “Attribution – Non-Commercial – Share Alike”.
That is fancy talk for letting you know that you are free to use anything on The Edublogger as long as you:
- Give an attribution or credit that lets others know where you got the info with a link to The Edublogger,
- Won’t profit in any way from using our content and use it for non-business purposes only, and
- Anything you create with our content, you must use the same license.
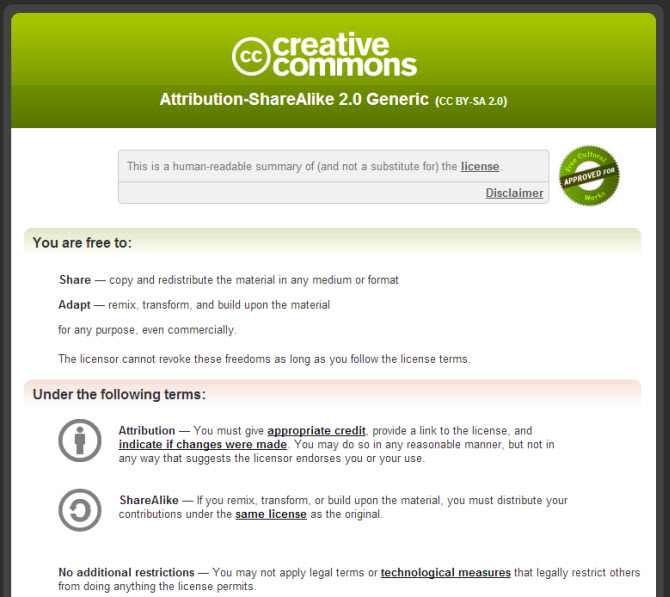
Below’s a quick summary of the different types of Creative commons licenses:
![]() Attribution CC BY
Attribution CC BY
Allowed to share (to copy, distribute and transmit the work), remix (to adapt the work) and use it for commercial purposes provided you attribute the work in the manner specified by the author or licensor.
![]() Attribution-NoDerivs
Attribution-NoDerivs
Allowed to share (to copy, distribute and transmit the work) and use it for commercial purposes provided you do not alter, transform or build upon the work and you attribute it in the manner specified by the author or licensor.
![]() Attribution-NonCommercial-ShareAlike
Attribution-NonCommercial-ShareAlike
Allowed to share (to copy, distribute and transmit the work) and remix (to adapt the work) provided it isn’t used for commercial purposes, you attribute the work in the manner specified by the author or licensor and you distribute it under the same license.
![]() Attribution-ShareAlike
Attribution-ShareAlike
Allowed to share (to copy, distribute and transmit the work) and remix (to adapt the work) and use it for commercial purposes provided if you alter, transform or build upon the work provided you distribute it under the similar license. You must attribute the work in the manner specified by the author or licensor.
![]() Attribution-NonCommercial
Attribution-NonCommercial
Allowed to share (to copy, distribute and transmit the work) and remix (to adapt the work) provided it isn’t used for commercial purposes. You must attribute the work in the manner specified by the author or licensor.
![]() Attribution-NonCommercial-NoDerivs
Attribution-NonCommercial-NoDerivs
Allowed to share (to copy, distribute and transmit the work) provided you do not alter, transform or build upon the work or use it for commercial purposes and you attribute it in the manner specified by the author or licensor.
Watch this video for a summary of the different creative commons’ licences.
FLICKR CREATIVE COMMONS IMAGES
One of the most common sources of Creative Commons images used by bloggers is Flickr (an online photo sharing website).
Unfortunately many assume Flickr images are licensed under creative commons and allowed to be used. This isn’t the case.
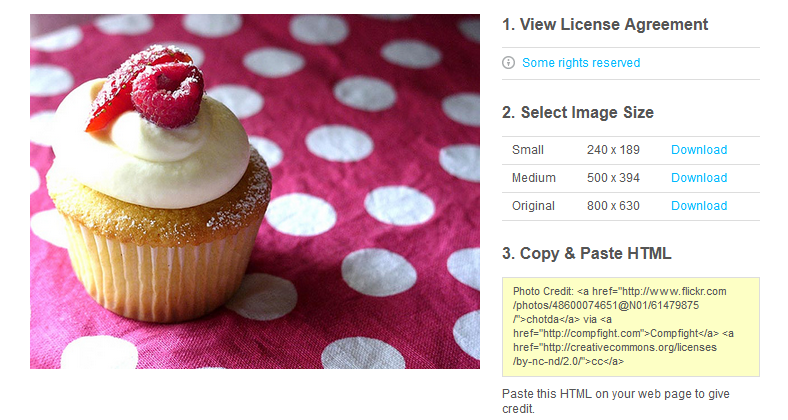
Images marked as “All Rights Reserved” are copyrighted and require permission from the person who uploaded it to Flickr. Images with “Some rights reserved” means the Flickr user has applied a Creative Commons license to their photo and you can use the image in the manner specified by the license.
If you look at images directly on Flickr always check to see which license applies to ensure you only use the image in the manner specified by the license.
The license is listed below the image.
For those you might be allowed to use click on “Some rights reserved”.
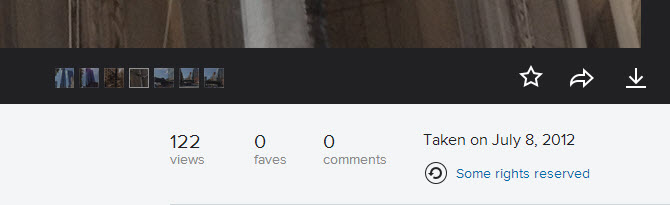
This takes you to the Creative commons licence where you can read how you are allowed to use the image.
FINDING CREATIVE COMMONS IMAGES
The best option for finding Flickr Creative commons images is to use one of the great Flickr Search Engines.
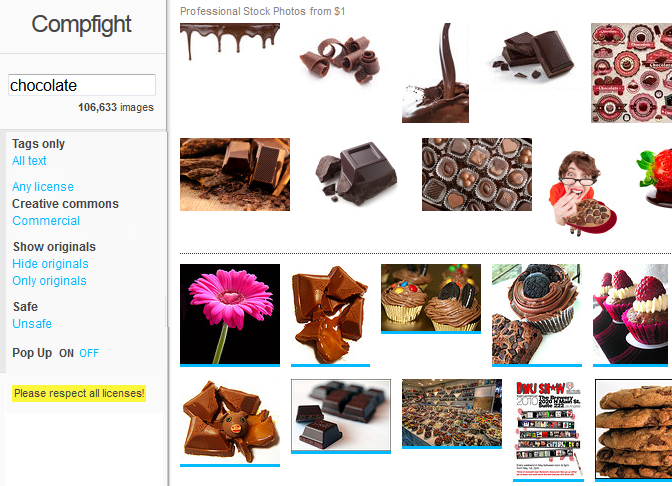
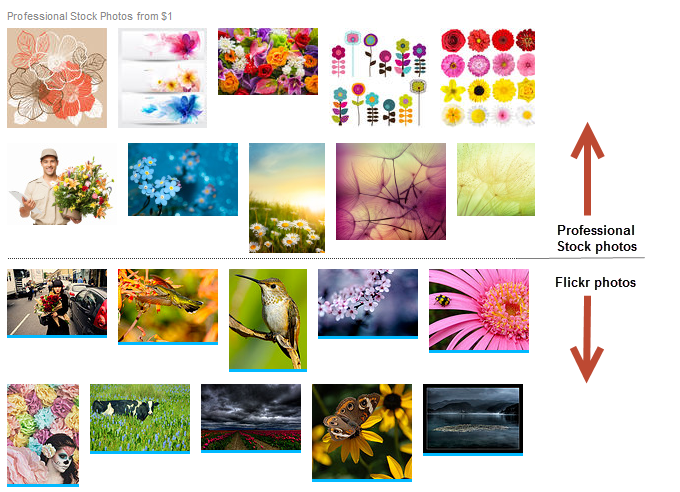
Compfight is one of the most popular Flickr Search engines. It provides a range of search options including search by tags only vs. all the text, licenses, the option to show or hide originals and turn on/off the safe content filter.
All images above the line returned by your Compfight search are professional stock photos — they aren’t free to use. Those below the line are Flickr Photos.
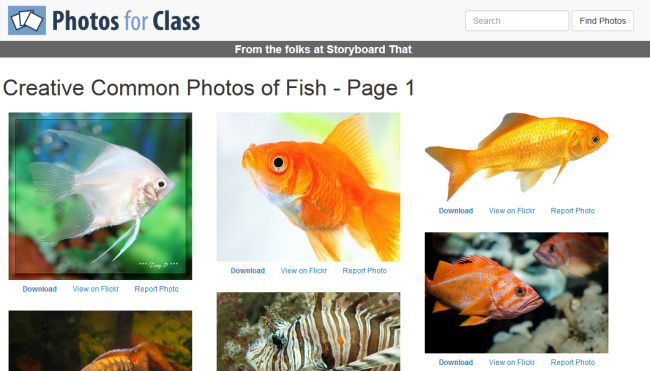
Photos for Class is a student friendly place for searching safe images from Creative Commons Flickr.
The downloaded images include attribution of the photographer and the image license terms.
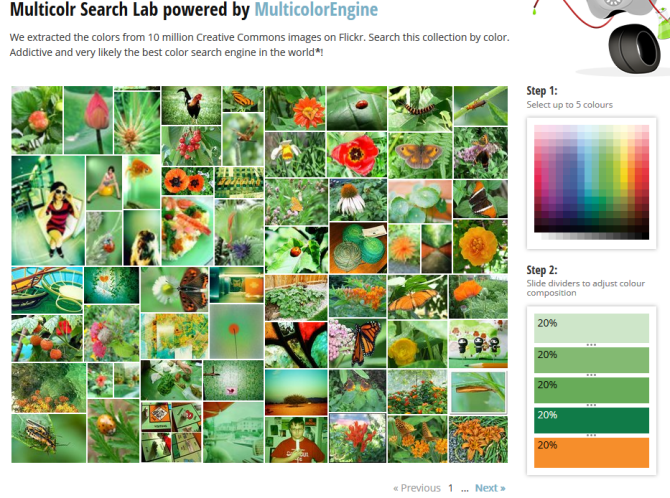
Multicolr Search Lab allows you to search Flickr images by color. This is a handy tool when you’re trying to match specific colors. All you need to do is select up to 5 colors.
Back to Top
Creative Commons and image attribution
It’s a requirement of all Creative Commons Licenses that you attribute the original author. This means you can’t just use a creative commons image without acknowledging the person who originally created it.
Within or at the end your blog post you must attribute the image, include their copyright information and you should link the photo back to it’s original photo page.
Here’s an example of image attribution:

Photo by Chotda licensed under Creative Commons Attribution 2.0 Generic.
ADDING IMAGES FROM COMPFIGHT TO POSTS
Here’s how easy it is to find an image on Comfight and add it to your post with image attribution:
1. Go to Compfight and enter your search term.
Make sure Creative Commons and Safe search is selected.

2. Click on the creative commons image you want to use.

3. This launches a pop up image window.
4. Click on ‘Some Rights Reserved‘ to check the creative commons license.
5. Click on ‘Download‘ next to the size you want to use to download it onto your computer.

6. Click on Add Media icon in your post editor.

7. Click on ‘Upload Files’ and then ‘Select Files’.
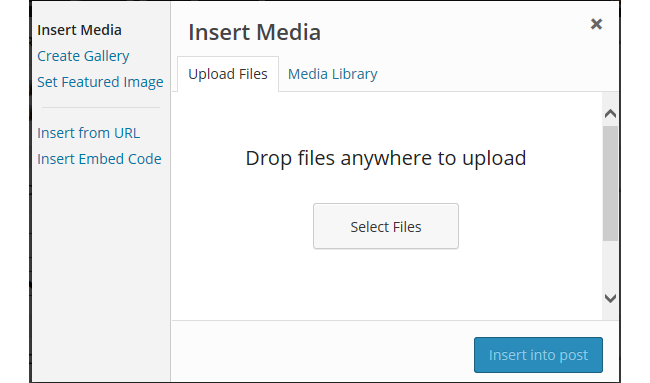
8. Locate the image on your computer and click Open to upload.
9. While your image is uploading you will see a progress bar.
10. Once the image has uploaded add the (1) image title, (2) alternative text, (3) paste the HTML code into the caption, (4) Select Custom URL, (5) Paste original image location, (6) Select full size and then click (7) Insert into Post.
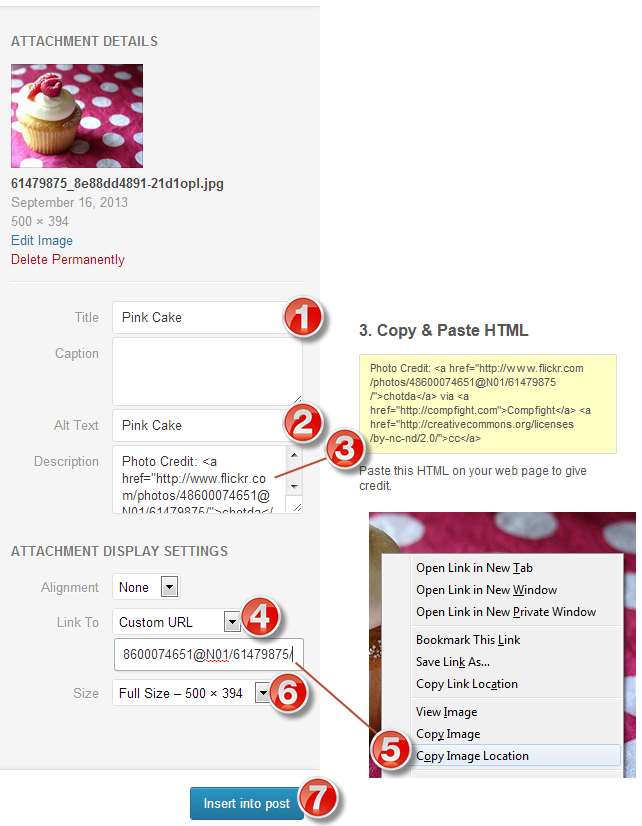
11. Your image will insert and look like this.
ADDING IMAGES USING THE COMPFIGHT PLUGIN
The Compfight plugin on Edublogs is a great tool to quickly find, add and add photo attribution for Creative Commons images to your posts using the Compfight icon on your visual editor.
Once you’ve activated the compfight plugin it is as simple as:
1. Click on the Compfight icon.

2. Add your search term and click Search.

3. Click on S (Small), M (Medium) or L (Large) to add the image to your post with proper Creative Commons attribution.

FREE AND PUBLIC DOMAIN IMAGES
There are websites that provide public domain images that are free to use, or have their own free to use licensing.
Public domain works are those works that:
- Automatically enter public domain when created because they are not copyrightable.
- Their copyright has expired.
- Their creator has assigned their work to public domain.
Public domain images are free and available for unrestricted use.
Back to Top
ATTRIBUTING FREE AND PUBLIC DOMAIN IMAGES
Public domain images and free to use images may not have a strict legal requirement of attribution, depending on the jurisdiction of content reuse, and depending on the terms and conditions of use of content from the website, but attribution is recommended to give correct provenance. This means within or at the end your blog post you must attribute the image, include their copyright information and you should link the photo back to it’s original photo page.
Back to Top
SOURCES OF FREE AND PUBLIC DOMAIN IMAGES
Here’s some good free and public domain image websites to use with students:
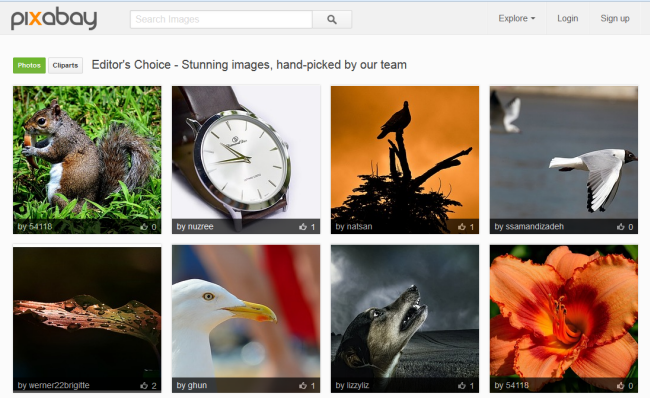
Pixabay is a curated repository for finding and sharing public domain images. All of the images on Pixabay can be used freely in digital and printed format, for personal and commercial use. Attribution to the original author is not required.
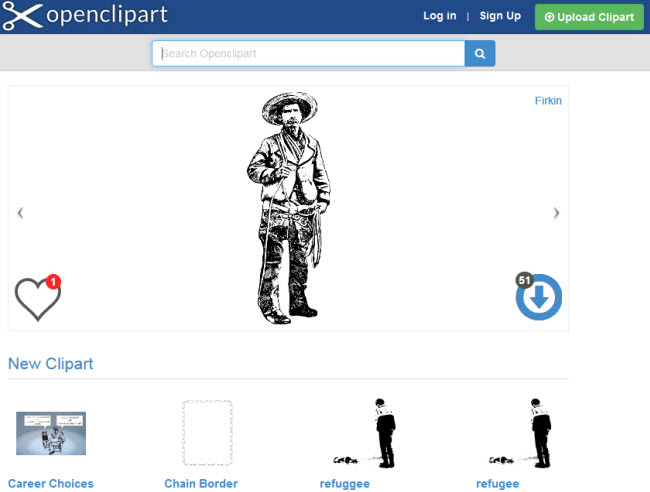
Openclipart is a gallery of clip art images that have been released into the public domain that can be used freely, for personal and commercial use, without attribution.
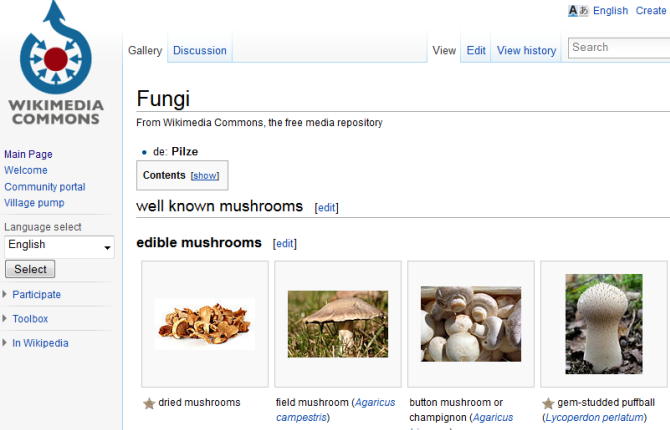
Wikimedia Commons is a media file repository for public domain and freely-licensed educational media content, including images, sound and video clips.
Images and other media on Wikimedia Commons are almost all under some kind of free license (usually public domain, CC-BY, CC-BY-SA, or GFDL (GNU Free Documentation license).
Clicking on an image or media file on Wikimedia Commons takes you to the information page for that file. This is where you’ll find the information supplied by the uploader, including the copyright status, the copyright owner, and the license conditions.
The following image from Wikimedia Commons is license under GNU Free Documentation and Creative Commons ShareAlike 3.0.

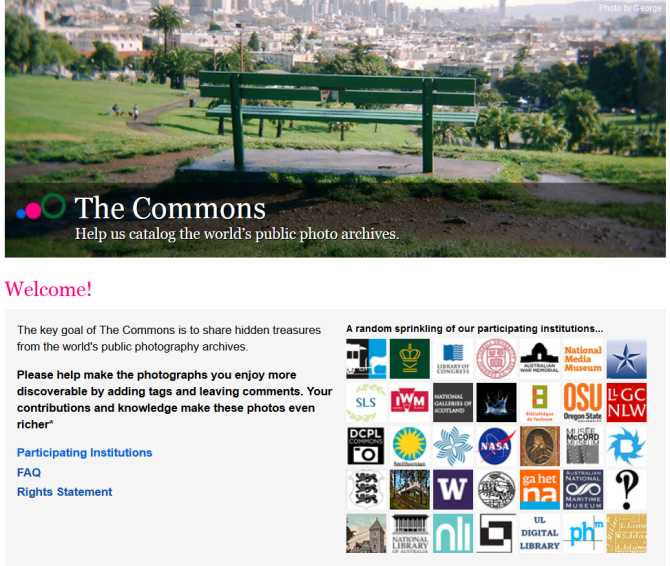
The Commons was set up to help share photos and images from the World’s public photography archives. There is over 56 institutions contributing images to The Commons.
A special rights statement — ‘No known copyright restrictions’ — was created to provide a copyright framework allowing institutions to add their photos to Flickr Commons and define how the public could use their work through their own rights statement.
Once you’ve located an image on The Commons you should click on the ‘No known copyright restrictions’ beneath the image.
This takes you to the Rights Statement for the Institution who supplied the image. This is where you’ll find information on how the institution would like the image to be attributed.

Below is an example of attributing an image from The Commons.
![River Cave, Margaret River [Western Australia, 2] [Frank Hurley] Courtesy of the National Library of Australia](http://teacherchallenge.edublogs.org/files/2013/09/9781155584_120ef3c486-1zys9lk.jpg)
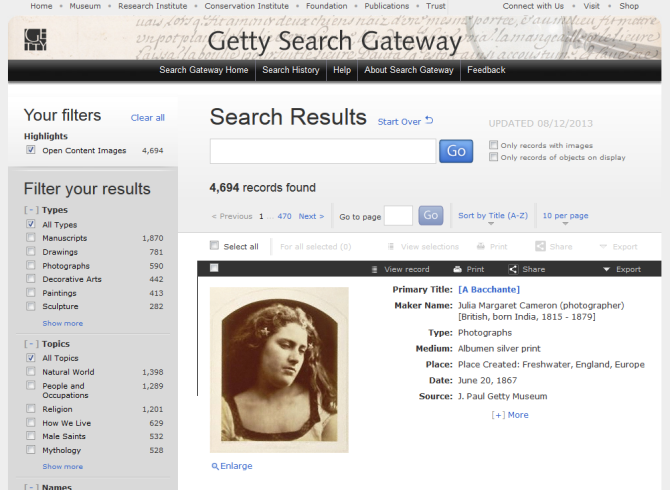
Getty Open Content images are all available digital images to which the Getty holds the rights or that are in the public domain to be used for any purpose. No permission is required.
The Getty requests that you use the following source credit when reproducing an image:
Digital image courtesy of the Getty’s Open Content Program.
Here’s an example of attributing an image from Getty’s open content program.
![Vincent van Gogh [Dutch, 1853 - 1890], Irises, Dutch, 1889, Oil on canvas, Digital image courtesy of the Getty’s Open Content Program.](http://teacherchallenge.edublogs.org/files/2013/09/00094701-11wy04t.jpg)
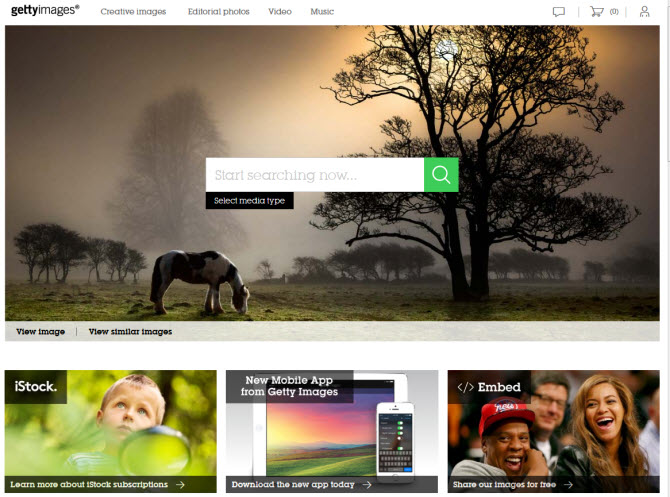
Getty Images is an American Stock photo agency which allows their images to be used for free for non-commercial use. Getty Images have no relationship with the J. Paul Getty Trust and the Getty Open Content images.
Once you have found an image on Getty Images you can embed it into a post or page using their embed code as follows:
1. Hover your mouse over the image you want to use.
2. This launches an image preview window with more information and a link to the embed option.
3. Click on the Embed link.
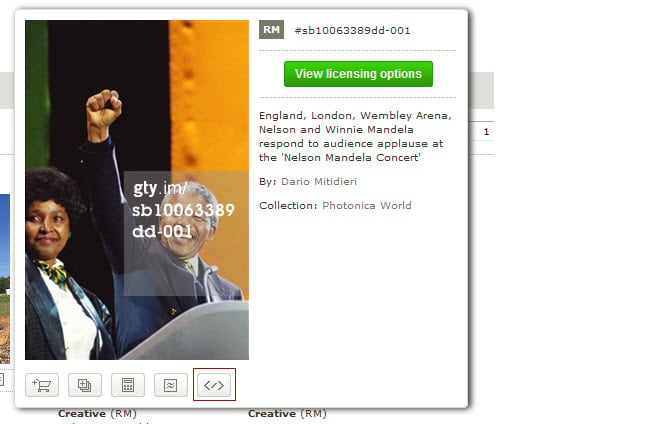
4. Copy the embed code.

5. Place your cursor in the post where you want you it to be embedded and click on Add Media button.

6. Click on Insert Embed Code.
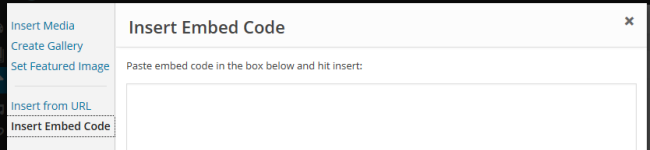
7. Paste the embed code into the Insert Embed code box and click Insert into post.
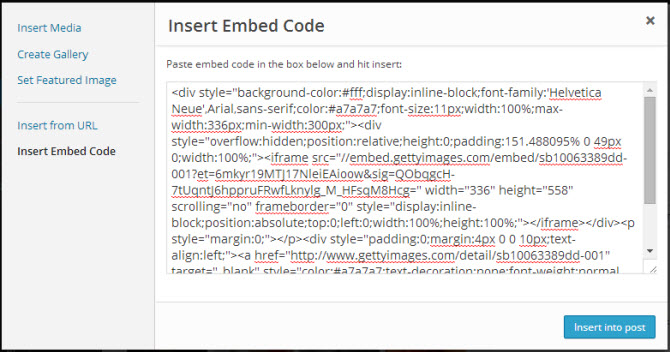
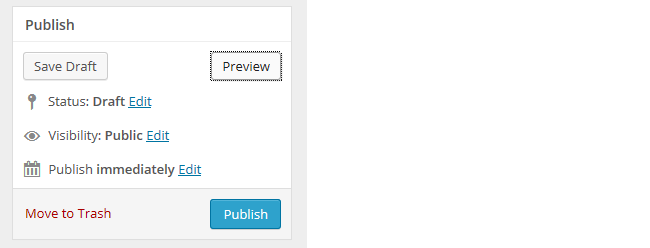
8. When you have finished writing click Publish.
11. You should now see the Getty image embedded in your post with full attribution like shown below.
USING OWN IMAGES
The alternative options to sourcing images from other websites is to upload your own photos or create images using online tools.
Here’s some ideas for creating your own images:
- Comic Generators like ToonDoo
- Photo Editors like Befunky, fd’s Flickr Tools
- Tag Cloud Creators such as Wordle
- Graph Creators including GraphJam and Crappy Graphs
- Fun photo tools CutMyPic, Deefunia, Glitterfly, PhotoFunia, Says It recommended by the Daring Librarian. For more check out WebTools4U2 for other great tools for creating your own images.
USING STUDENT PHOTOS ONLINE
Even though 99.99% of visitors to your class blog will be well meaning parents, students, community members, or interested visitors from around the world, the unfortunate reality is that those with bad intentions can also visit public sites. There are also cases where the personal background of a student might mean they need more privacy and anonymity than others.
Decisions on whether to use student photographs or not is often about protecting educators from having problems with parents, caregivers or administrators who have concerns about cyber-predators.
Information that helps someone identify a student should always be shared with care.
Before using any student photos online, even on a private blog, you need to:
- Find out your school, district or Education Department guidelines for sharing student photos online — make sure you follow these guidelines.
- Find out if there are forms caregivers and students need to sign to consent to use of student photos online — make sure you have all forms signed by parents or caregivers.
- Respect the wishes of caregivers and students while understanding consent to use photos can be withdrawn at any time.
Remember it isn’t possible to stop parents, students and caregivers from downloading photos and sharing them on their social networks, even if you are using a private blog. If you don’t want a photo shared on a social network then don’t upload the photo.
Our recommendations:
- Avoid the use of any photos that can identify individual students. A safe compromise is to only use photo taken from behind students.
- Don’t use student photos for their avatars.
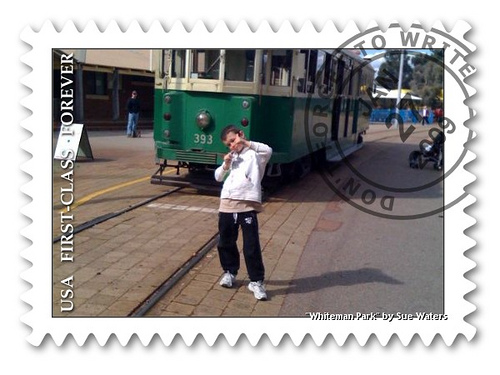
- If you do use any photos of students – don’t use their name in the file name and don’t refer to the student by name, even their first name, in the caption under the photo or in the post.
Refer to We Should Talk – Are You Using Student Photos Online? for examples of student photos that are less likely to cause issues.
After you have gone through the whole post:
YOUR TASK
- Create a post that includes a creative commons image or public domain image. Be sure to tell why you chose the image.